Step-by-Step Guide to Siding Installation: What to Expect During the Process
Wondering what it takes to install new siding? This Step by Step Guide to Siding Installation: What to Expect will show you what to expect from start to finish. We’ll provide detailed insights into each phase, helping you prepare for a smooth and successful project.
Key Takeaways
Properly prepare your home for siding installation by clearing the area and protecting landscaping to provide a safe workspace.
Thoroughly inspect and repair wall surfaces after removing old siding to ensure the new siding is properly adhered and free of damage.
Post-installation care, including regular cleaning and inspections, is essential for maintaining the siding’s appearance and longevity.
Preparing Your Home for Siding Installation
Proper preparation sets the stage for a successful siding installation project and a siding job. Before the installation team begins, there are essential tasks to ensure a smooth process. Clearing the area around your home’s exterior and protecting landscaping and outdoor furniture are crucial steps. These actions provide a clear workspace for the siding installers and protect your property from accidental damage.
Here’s what you need to do to get your home ready for this significant home improvement project.
Clearing the Area Around Your Home
Many homeowners might overlook the importance of clearing the area around their house before starting a siding installation. Remove all outdoor decorations, garden tools, and clutter to create a clear workspace for the siding installers. This includes moving garden furniture, portable plants, and lawn equipment.
Clearing the driveway and moving vehicles away from the home ensures better access for the installation crew. Additionally, trimming shrubbery and trees around your home helps the installers locate any stray nails or staples more efficiently.
Protecting Landscaping and Outdoor Furniture
During the siding project, protecting your landscaping and outdoor furniture is paramount. Using drop cloths can safeguard flower beds from debris. Moving outdoor furniture away from the siding installation area avoids accidental damage.
These steps not only protect your existing siding but also ensure that your home’s exterior remains pristine throughout the home improvement project.
Removing Old Siding and Inspecting Walls
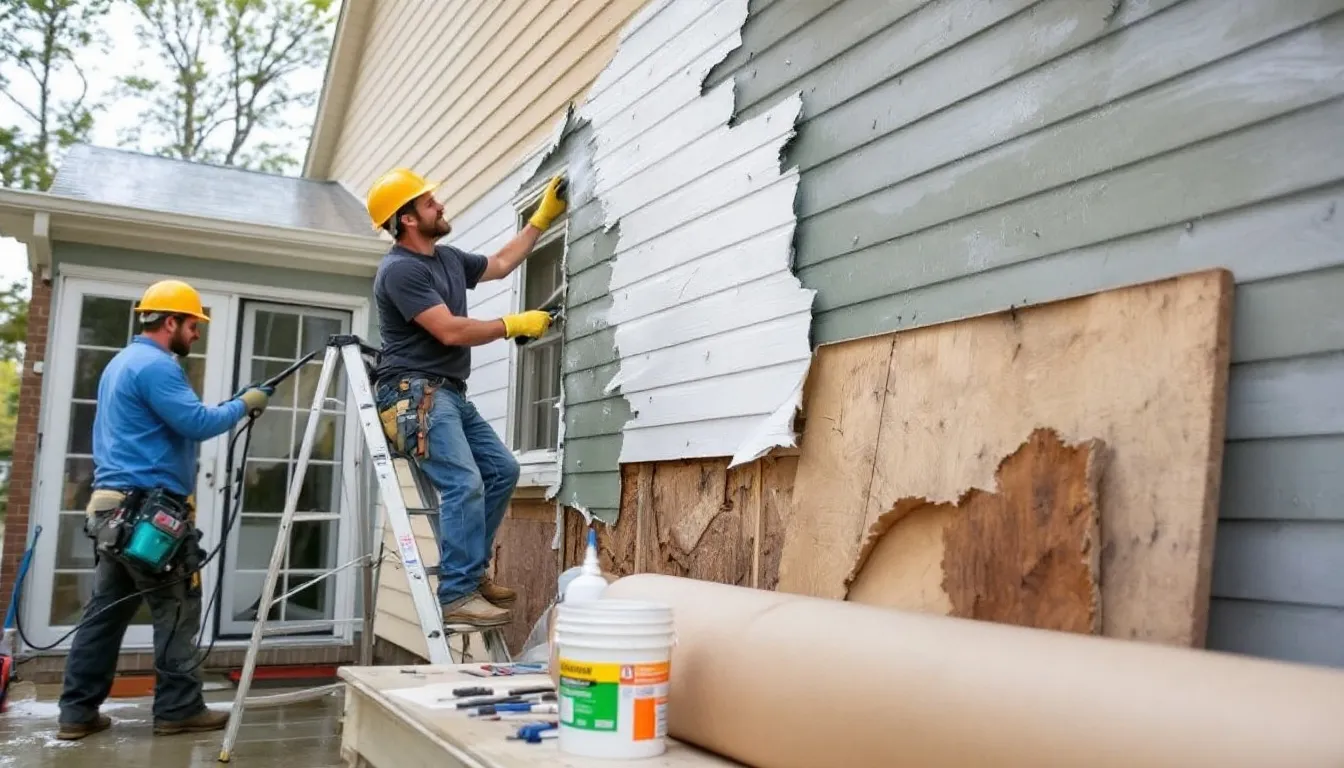
Once the preparation is complete, the next step in the siding installation process is removing the old siding and inspecting the walls. This crucial phase involves a thorough inspection to check for any damage or weaknesses in the wall surfaces, which may lead to siding replacement.
Proper wall preparation is essential to ensure the new siding adheres correctly and aligns properly. Let’s explore the detailed steps involved in removing existing siding and inspecting and repairing wall surfaces.
Removing Existing Siding
The process of removing existing siding starts at the top and works down to ensure safety and efficiency. This top-down approach prevents any falling debris from damaging areas already cleared.
After removal, construction materials are cleaned up to avoid stray pieces on the property. Following these correct removal and clean-up procedures effectively prepares your home for new siding.
Inspecting and Repairing Wall Surfaces
Inspecting the walls after removing the old siding is a critical step. Look for signs of water damage, sheathing damage, and hazardous materials like asbestos. Visible signs of water damage or rot need to be addressed before the siding installation begins.
Make necessary repairs, such as tightening loose panels and filling cracks, to avoid further issues. Completing all repairs, including replacing damaged sheathing, before the new siding installation is vital.
Installing Weather Resistant Barrier and Insulation
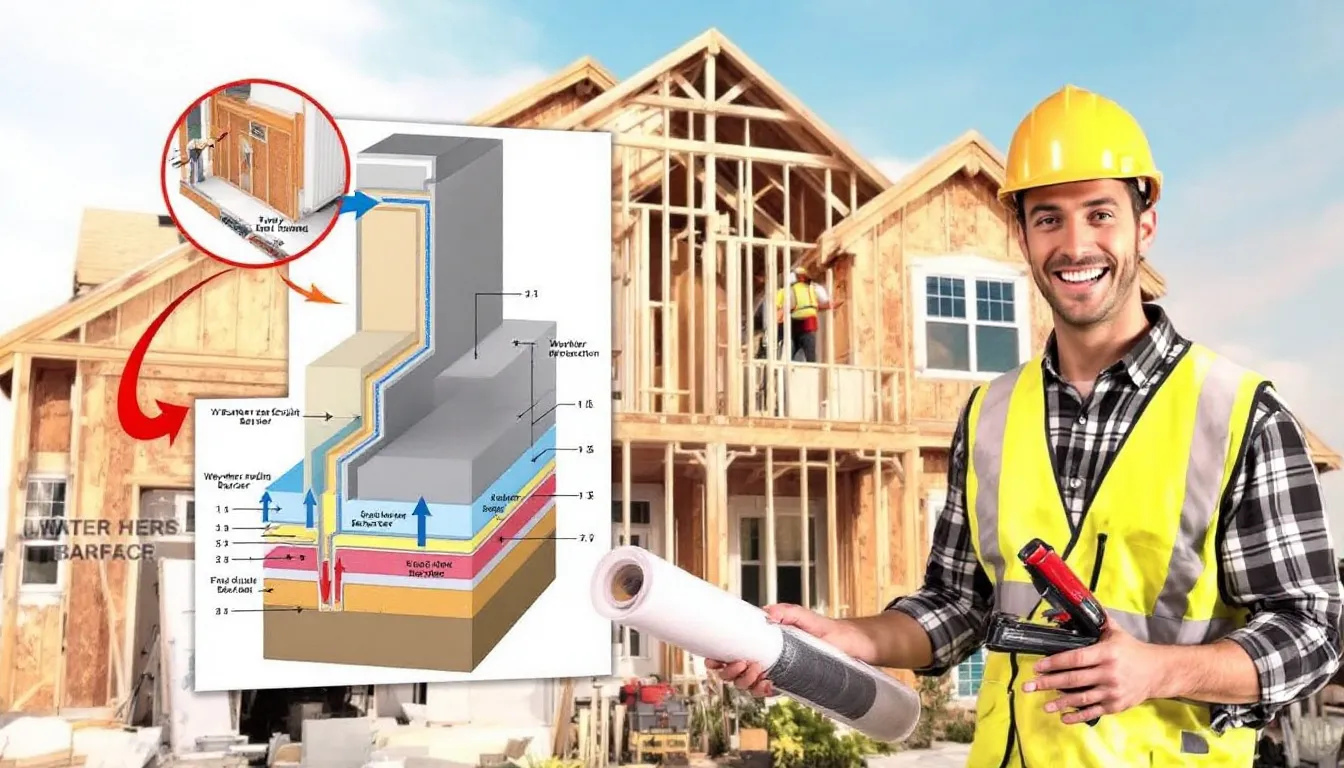
With the wall surfaces prepared, the installation of a weather-resistant barrier and insulation is the next step. These elements play a crucial role in preventing moisture infiltration and enhancing energy efficiency.
A weather-resistant barrier helps to protect the structural integrity of your home.
Here’s how to apply house wrap and add insulation.
Applying House Wrap
Properly installed house wrap lets moisture vapor escape while blocking liquid water, enhancing the siding’s durability. The installation involves overlapping seams to ensure water drainage and prevent leaks. Taping seams and using flashing around windows and doors are critical steps for effective moisture management.
A vinyl siding starter strip also acts as a moisture barrier, preventing water from damaging the walls beneath the siding.
Adding Insulation
Adding insulation not only helps retain heat in winter but also provides strength against impacts. The process starts with removing old insulation.
The contractor will then add new insulation appropriate for the siding contractor being installed, ensuring improved thermal performance and energy efficiency.
Starting the Siding Installation Process

With the preparation complete, the siding installation process begins. Proper preparation of the home’s exterior is essential for the successful installation of siding. The installation team will utilize tools like tin snips and a utility knife to ensure precise cuts and fittings.
After installing the corners, the siding is attached piece by piece. Here are the specifics of installing the starter strip and attaching corner pieces.
Installing the Starter Strip
The starter strip is crucial for aligning and securing the first row of siding panels. It must be level to ensure subsequent siding panels are placed correctly. This initial step sets the foundation for the entire siding installation process, ensuring that each panel is installed correctly and securely.
Attaching Corner Pieces
Attaching corner pieces is a critical step in the siding project. Corners are nailed into place to provide stability and alignment for the siding. They should extend three-quarters of an inch past the bottom of the starter strip during installation.
Proper corner installation is crucial for a neat and secure fit for horizontal siding.
Attaching Siding Panels and Trimming Openings
Attaching siding panels and trimming openings are essential steps in the siding installation process. Each panel must connect correctly for a uniform appearance. Properly nailing the siding panels ensures durability and alignment.
Trimming around windows and doors requires precise cutting and fitting, often utilizing J-channel trim for a polished look. Here’s a detailed look at these steps.
Attaching Siding Panels
Using nails through slots in the panels ensures proper attachment of siding to the house. Start at a corner and install siding panels from the bottom to the top for an effective installation process. Careful installers ensure each piece of siding firmly attaches before applying the next to maintain structural integrity.
During installation, panels should overlap with nail slots aligned and positioned with a slight gap to accommodate thermal expansion.
Trimming Around Windows and Doors
To ensure clean cuts when trimming siding, measure, mark cuts, and trim snugly around windows and doors. Properly installed J-channel trim redirects water away from window and door openings. Precise cutting and fitting around windows and doors is crucial to prevent water intrusion and maintain aesthetic appeal.
Using J-channel trim not only protects against water intrusion but also enhances the curb appeal of the home.
Finalizing the Siding Installation Project

As the siding installation project nears completion, it’s essential to focus on the finishing touches and clean-up. Securely fastening corners prevents water infiltration and ensures the longevity of the fiber cement siding installation. Addressing any issues promptly and ensuring updates are made as needed are critical steps.
Here’s a look at the final steps, including installing finishing touches and the clean-up and inspection process.
Installing Finishing Touches
Re-attaching gutters, attaching mailboxes or house numbers, and adding shutters are some of the finishing touches that complete the siding project. Adding finishing trim not only improves the aesthetic but also helps in sealing edges and directing water away from the house.
These final steps make sure your home’s exterior looks polished and is well-protected.
Clean-Up and Inspection
After the siding installation, the removal of all debris, stray nails, and leftover materials is confirmed. Cleanup is essential to remove lingering debris and dust that could affect the siding’s performance. The old materials are discarded by the contractor after the new siding installation.
A quality inspection can be scheduled a few weeks post-installation to confirm the quality of the siding. Finally, washing off installed boards removes dust and grit that accumulates during installation.
Post-Installation Care and Maintenance
Post-installation care and maintenance are crucial for preserving the beauty and functionality of your new siding. Regular maintenance can significantly extend the lifespan of siding materials. Incorporating insulation not only improves energy efficiency but also aids in soundproofing the interior of the home, making it essential to choose the right siding material.
Let’s delve into the specifics of regular cleaning and inspection, as well as addressing common issues.
Regular Cleaning and Inspection
Regular cleaning helps extend the lifespan of siding and maintains its appearance. Clean siding at least once or twice a year to remove dirt and prevent deterioration. Cleaning siding with a gentle detergent and water can prevent dirt buildup and discoloration.
Regular inspections after installation are crucial for maintaining the siding effectively and addressing issues promptly.
Addressing Common Issues
Proper post-installation care is crucial for maintaining the longevity and functionality of your siding. Routine cleaning helps prevent the build-up of dirt and debris that could compromise the appearance of your siding.
Regular inspections help homeowners identify and address issues like loose panels or minor damages before they escalate. Addressing these common issues early ensures your siding remains in top condition for years to come.
Summary
In summary, a successful siding installation project involves meticulous preparation, careful installation, and diligent post-installation care. From clearing the area around your home and removing old siding to installing a weather-resistant barrier and insulation, each step is crucial for a durable and aesthetically pleasing result. By following this step-by-step guide, you can confidently embark on your siding project, knowing what to expect at every stage. So, take the first step towards transforming your home’s exterior with brand new siding and enjoy the lasting benefits it brings.
